


10 Reasons Your Duct Leakage Testing Equipment Isn't Working (And How to Fix It Before Your Next Job)

We've all been there. You show up to a job site, start setting up your duct leakage test equipment (Duct Blaster® or DucTester®), and… nothing. Readings are all over the place, your manometer's acting weird, or you can't hit test pressure no matter what you do.
Field failures are frustrating, expensive, and embarrassing, especially when you've got a QA inspector watching or a homeowner asking questions.
The good news? Most equipment failures have simple fixes. Let's walk through the 10 most common reasons your duct leakage test equipment isn't working (and how to solve them before you pack up and leave).
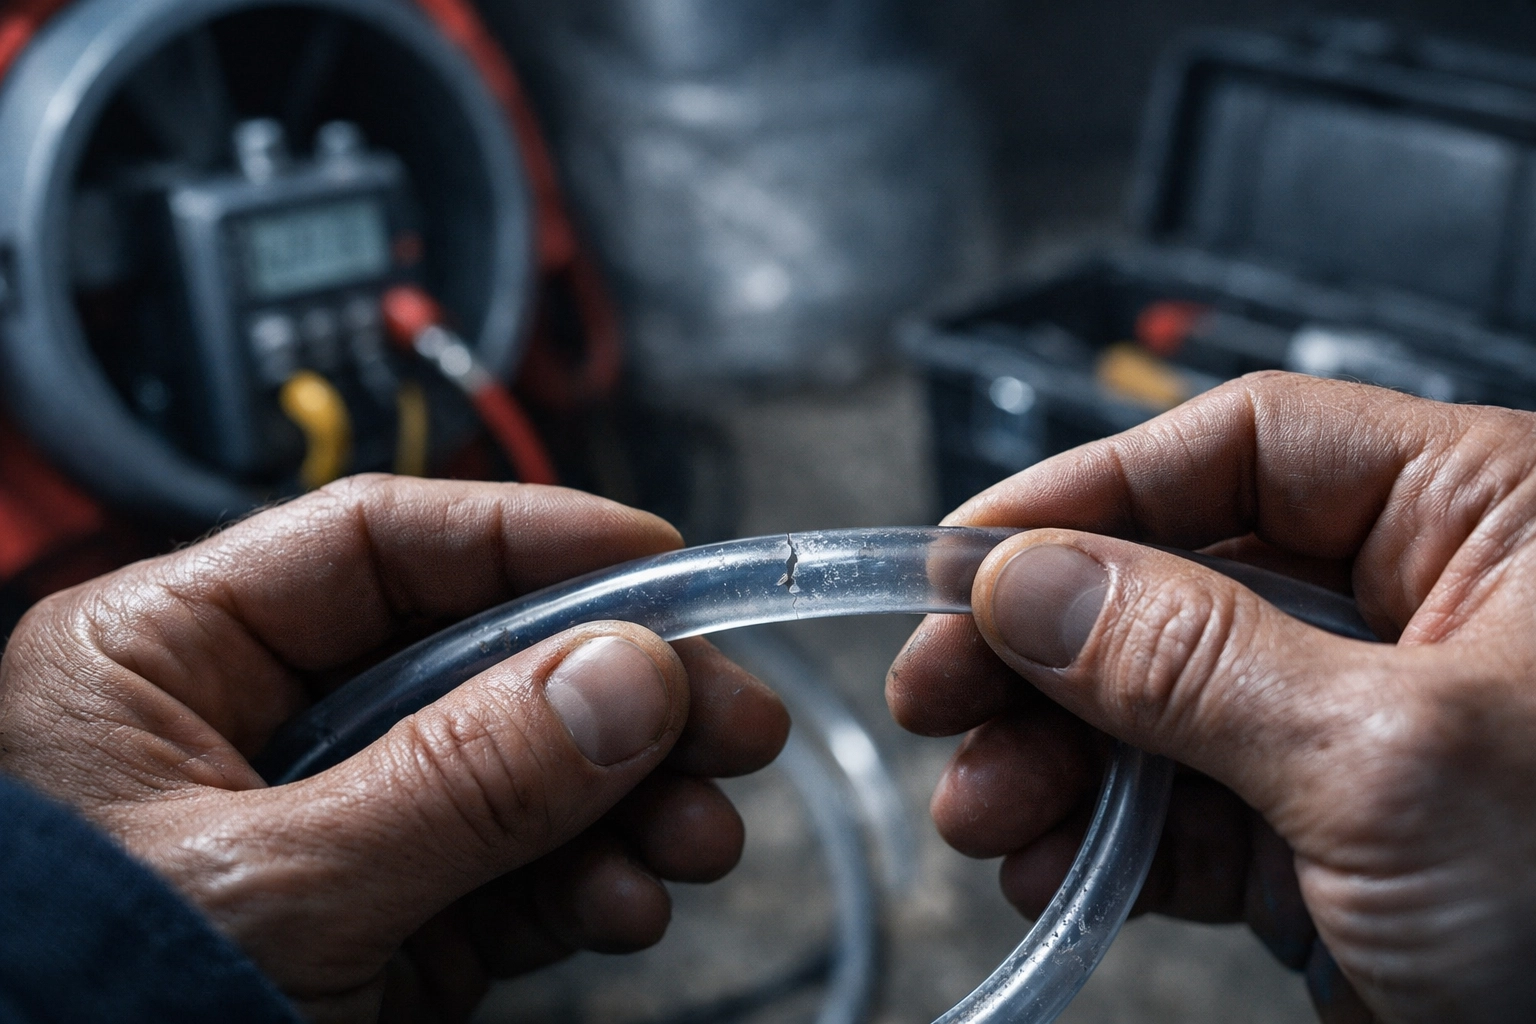
1. Your Hoses Are Leaking (And You Didn't Notice)
This one's sneaky. A tiny crack or loose fitting in your pressure tubing or duct blaster hose can throw off your entire test. You'll see fluctuating readings, or you won't be able to hit target pressure at all.
The fix: Before every job, inspect your hoses. Run your hand along the length of each one, checking for cracks, kinks, or soft spots. Tighten all connections. If a hose is worn out, replace it, it's way cheaper than a callback.
Pro tip: Keep a roll of quality duct tape in your kit for emergency repairs (yes, we know the irony).
2. Your Manometer Battery Is Dead (Or Close to It)
The Energy Conservatory's DG-1000 Pressure and Flow Gauge, and the Retrotec DM-32 - Dual Channel Touchscreen Manometer are workhorses, but they run on batteries. If your readings are acting funky, jumping around, freezing, or just refusing to connect, check your power first.
The fix: Charge your manometer the night before every test. Keep a backup power bank or spare batteries in your truck. Low battery = unreliable data, and you can't afford that on test day.
3. Clogged Pressure Tubes Are Killing Your Readings
Dust, debris, and moisture love to settle in your pressure tubing. When those tiny tubes get clogged, your manometer can't read system pressure accurately, or at all.
The fix: Disconnect your pressure tubing and gently blow through it. You should feel clear airflow. If it's blocked, use compressed air or replace the tube entirely. Also, make sure your pressure taps are drilled cleanly and sealed properly with putty or tape.
4. You're Using the Wrong Fan Range Setting
Your duct blaster has multiple fan ranges for a reason. If you're testing a tight system on Range A (the highest setting), you won't be able to dial in the right pressure. Same goes for using Range C on a super leaky system, you'll max out.
The fix: Start with the middle range (usually Range B) and adjust based on your system's leakage. If you can't hit 25 Pascals, switch to a higher range. If your gauge is maxing out, drop to a lower range. It's all about finding the sweet spot for that specific duct system.
5. Tape Is Failing on Your Registers (There's a Better Way)
Here's the biggest time-waster in duct leakage testing: tape and plastic sheeting failing mid-test. You spend 20 minutes sealing every supply and return register, hit test pressure, and then, pop, a piece of tape peels off. Now you're chasing leaks instead of wrapping up.
The fix: Ditch the tape. Seriously.
Reusable vent caps for duct testing are a game-changer. They seal tight, stay put during the entire test, and you can use them hundreds of times. No more re-taping. No more plastic flying off ceiling vents. Just snap them on, run your test, and pack them up for the next job.
At Vent Cap Systems, we designed our caps specifically for this problem. They work with standard residential registers, create an airtight seal, and cut setup time by 15–20 minutes per house. That's real money saved on labor, and zero callbacks from failed seals.
6. Loose Connections Are Sabotaging Your Setup
Your duct blaster connects to the return grille or duct boot with a frame, and that frame needs a tight seal. If the connection between your fan housing and the duct system is loose, you're measuring air leaking out of your setup, not the duct system.
The fix: Double-check every connection point. Use foam weatherstripping or Tite-Seal tape around the frame. Make sure your fan housing sits flush against the duct opening. A good seal here means accurate CFM readings.

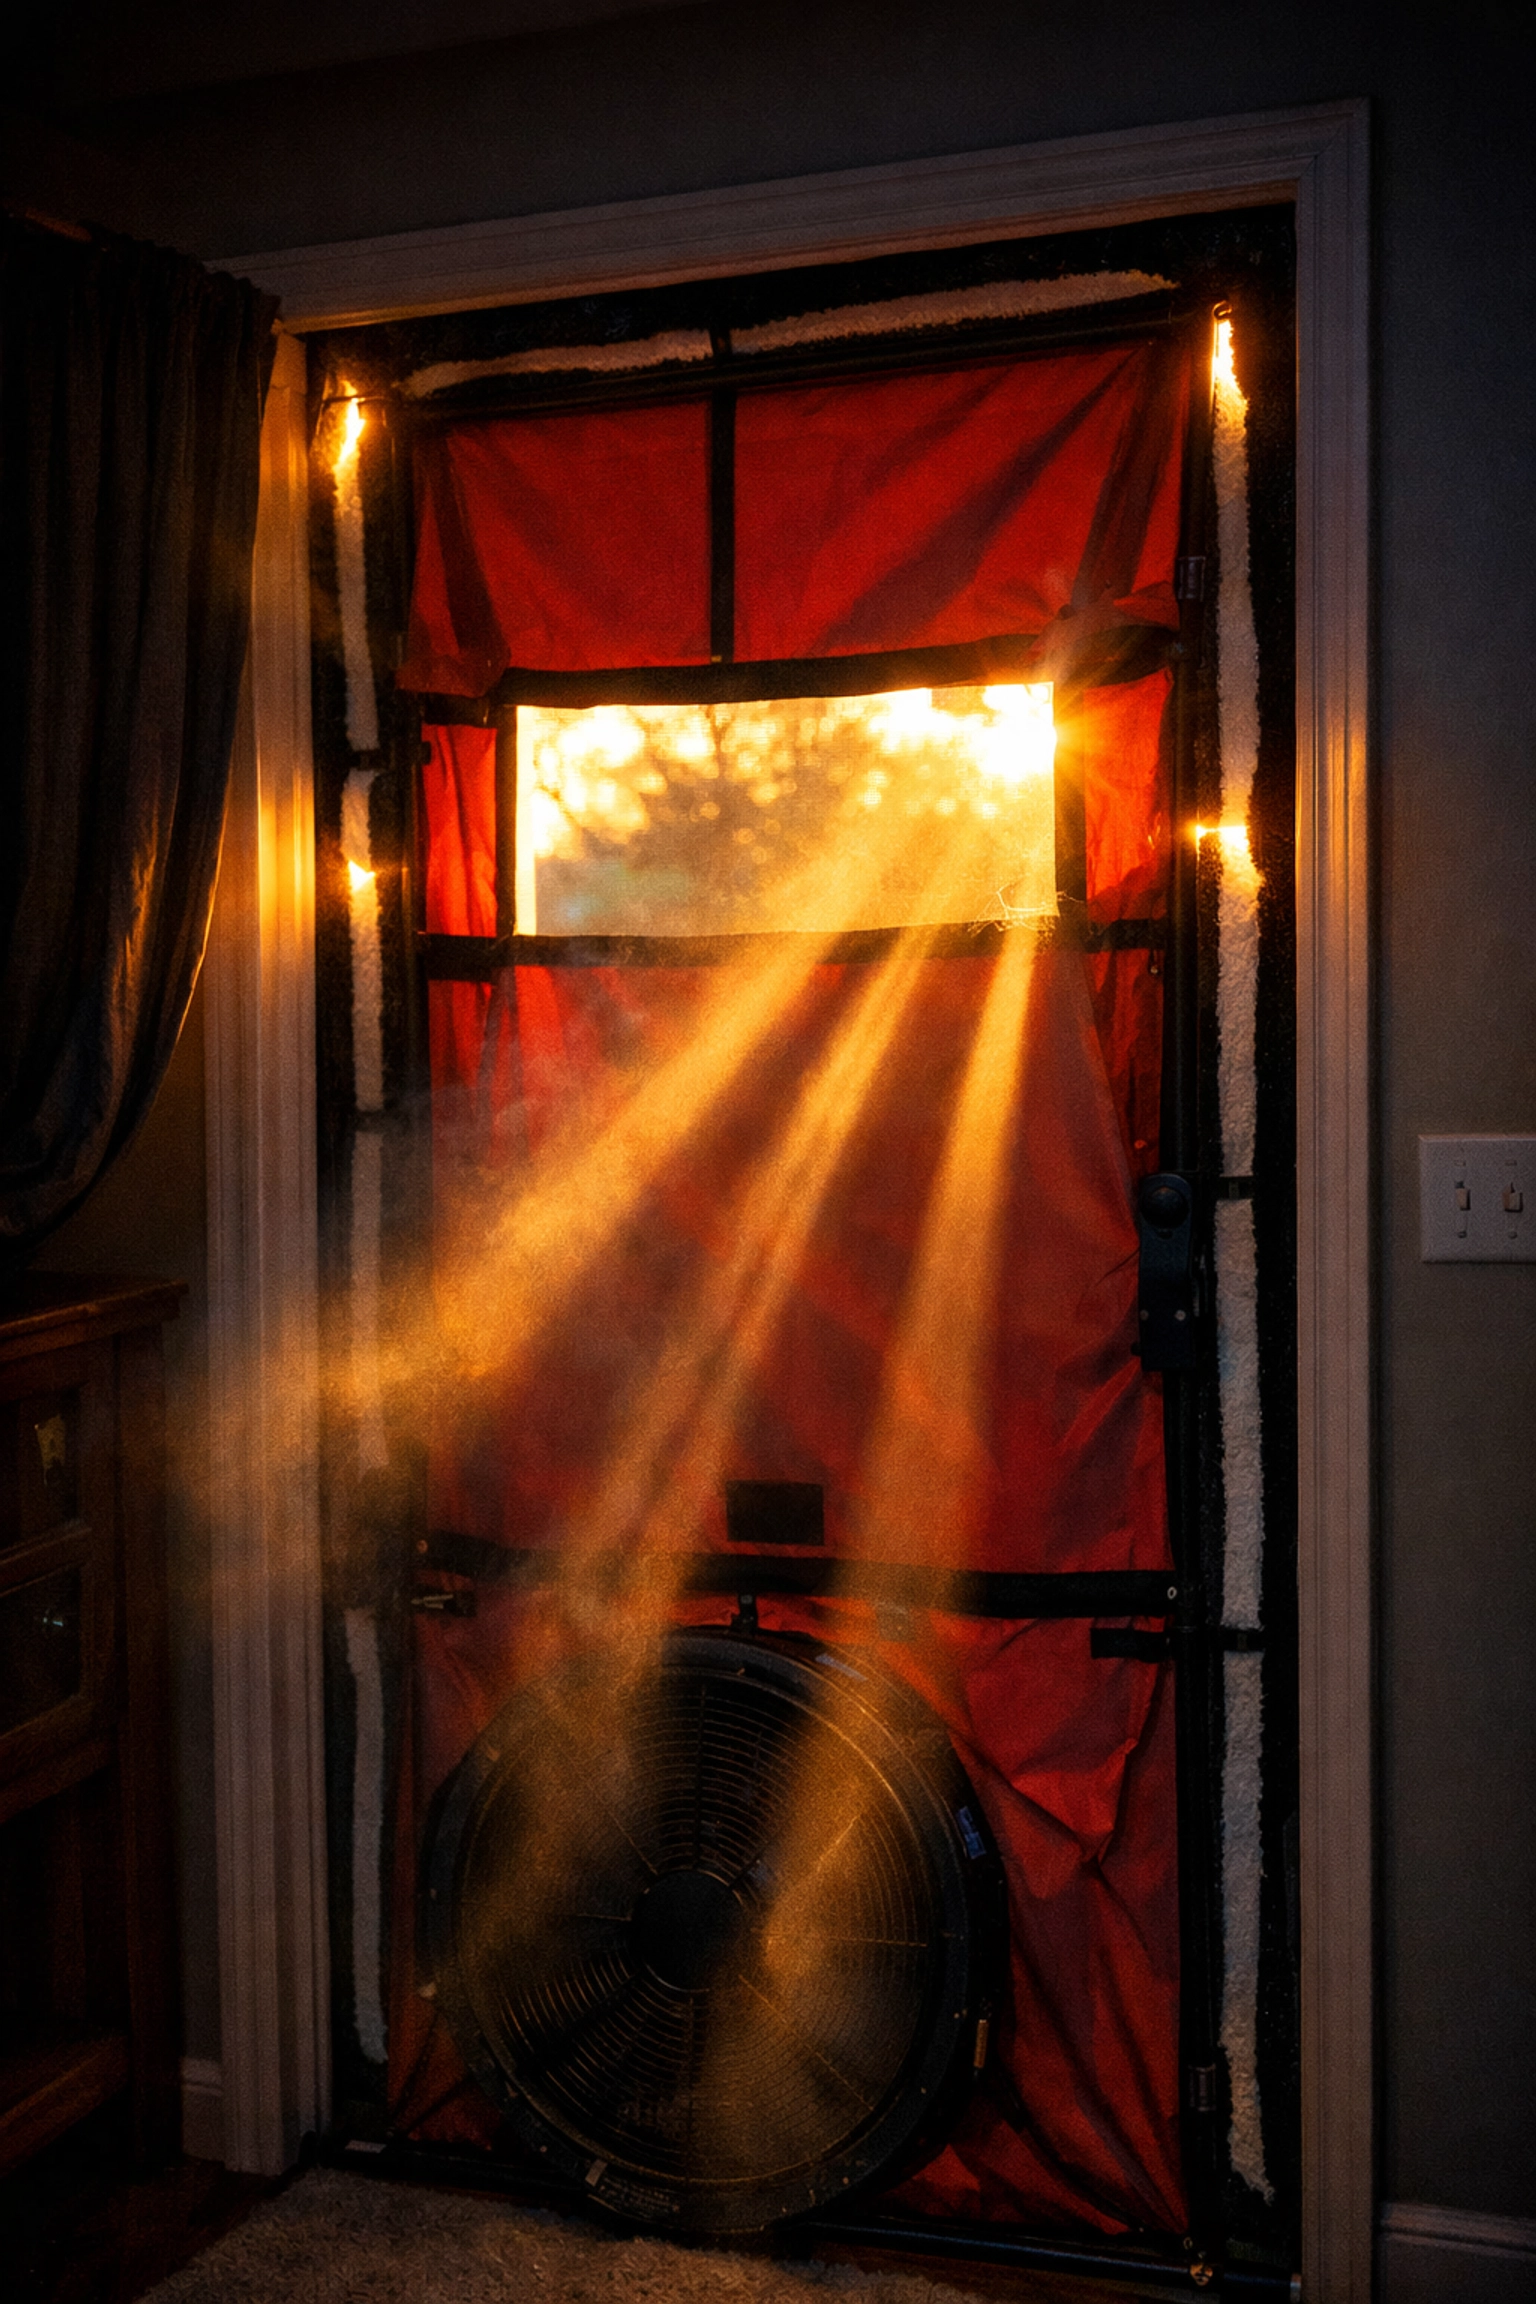
7. Your Blower Door Frame Isn't Sealing Properly
If you're running envelope testing in addition to duct leakage tests, a poorly sealed blower door frame will ruin your ACH50 numbers. Gaps around the door frame let outside air in, which throws off your whole baseline.
The fix: Inspect the frame gasket before every test. Make sure it's sitting flat and making contact all the way around the door opening. If you've got a wonky door frame at the house, use additional foam or adjustable panels to bridge the gap.
8. Wind Is Messing with Your Test Pressure
Testing on a windy day? Wind pressure can affect your duct leakage readings, especially if you're testing a small, tight system. Your manometer might fluctuate, or you'll struggle to maintain stable test pressure.
The fix: If possible, reschedule for a calmer day. If you can't, position your reference pressure tubing away from direct wind exposure. Test on the side of the house that's sheltered. And be patient, wait for stable readings before you record data. Or use the Smart Cloth by Retrotec with its superior accuracy in windy conditions.
9. You're Using a Cheap Smoke Machine Instead of a Real Air Tracer
Low-quality theatrical smoke generators might seem like a budget-friendly option for leak detection, but they don't produce the dense, consistent smoke you need to trace airflow in ducts. The smoke dissipates too fast, and you'll miss leaks.
The fix: Invest in a proper smoke generator designed for duct leakage testing, like the AirTracer smoke generator. It produces thick, long-lasting smoke that actually shows you where air is escaping. This isn't just about looking professional; it's about finding every leak so you can seal it right the first time.
10. Your Equipment Needs Calibration
Manometers, pressure gauges, and fan flow meters drift over time. If your dg 1000 manometer or duct blaster hasn't been calibrated in over a year, your readings could be off, and you might not even know it.
The fix: Send your equipment in for annual calibration. The Energy Conservatory and Retrotec both offer calibration services. Yes, it costs money and means downtime, but it's way cheaper than failing an inspection or getting called out for inaccurate data.
Bonus Tip: Pre-Job Equipment Checklist
Want to avoid 90% of these problems? Run through this quick checklist before you leave for the job site:
- ✅ Manometer fully charged
- ✅ Hoses inspected (no cracks or leaks)
- ✅ Pressure tubing clear and connected correctly
- ✅ Vent caps packed (if you're smart and switched from tape)
- ✅ Frame seals and gaskets intact
- ✅ Smoke generator loaded and tested
- ✅ Spare batteries, tape, and zip ties in your kit
Five minutes of prep saves hours of troubleshooting in the field.
The Bottom Line: Fix Problems Before They Cost You
Duct leakage testing equipment is reliable: when you maintain it. Most field failures come down to worn-out parts, loose connections, or outdated methods (we're looking at you, tape-and-plastic crew).
The biggest upgrade you can make? Switch to reusable vent caps. They eliminate the #1 setup headache, speed up your workflow, and pay for themselves in just a few jobs.
Ready to ditch the tape and upgrade your duct testing kit? Check out our full line of vent caps and duct leakage testing gear at Vent Cap Systems. We've been helping HVAC pros and energy auditors test faster and smarter since day one.
Got questions about gear, testing workflow, or how our caps work with your setup? Call or text Corey directly: We're here to help you solve problems, not sell you stuff you don't need.
Now get out there and nail that test. 🚀