





How to Set Up a Duct Blaster Test: A Field Checklist for Reliable Results

A reliable duct blaster test starts before the fan turns on. Clear prep, complete register sealing, and a correctly configured gauge help you get readings you can trust, and make the job easier to repeat across homes, crews, and projects.
Use this checklist as a practical field reference. Always follow the current equipment manual, applicable test standard, local code, and project requirements when they differ from a general workflow.
1. Before you unload the duct testing equipment
First, confirm what the job requires. Are you measuring total duct leakage, duct leakage to outside, or running a diagnostic test? These tests answer different questions and don’t use identical setups.
- Confirm the required test pressure, test stage, reporting units, and pass/fail threshold for the project.
- Check the site address, conditioned floor area, HVAC system, and whether the air handler is installed.
- Confirm your equipment is appropriate for the job and ready to use. Bring the Duct Blaster fan, controller, hoses, flow rings, tubing, seals, and a digital manometer such as the DG-1000.
- Check the equipment condition and follow manufacturer guidance for calibration or field checks.
- For leakage-to-outside testing, bring a blower door and the additional tubing needed for that protocol.
For model-specific setup and product details, see the Minneapolis Duct Blaster® System with DG-1000.
2. Prepare the building and HVAC system
A clean test setup starts with a building that’s ready to test.
- Turn off the HVAC system and any fans or equipment that could operate during the test. Follow the applicable procedure for combustion appliances and other safety-sensitive equipment.
- Set dampers and ventilation openings according to the test protocol.
- Open interior doors as required by the procedure.
- Identify every supply register and return grille that must be sealed.
- Decide whether the air-handler enclosure is included. The answer depends on the test type, project instructions, and applicable standard.
Take a quick walk-through before sealing. It’s easier to spot an overlooked register now than to wonder later why a reading seems off.
3. Seal every register, without turning the house into a tape museum
For a standard duct leakage test, registers and grilles need to be sealed as specified by the test procedure. Miss one and the test configuration changes.

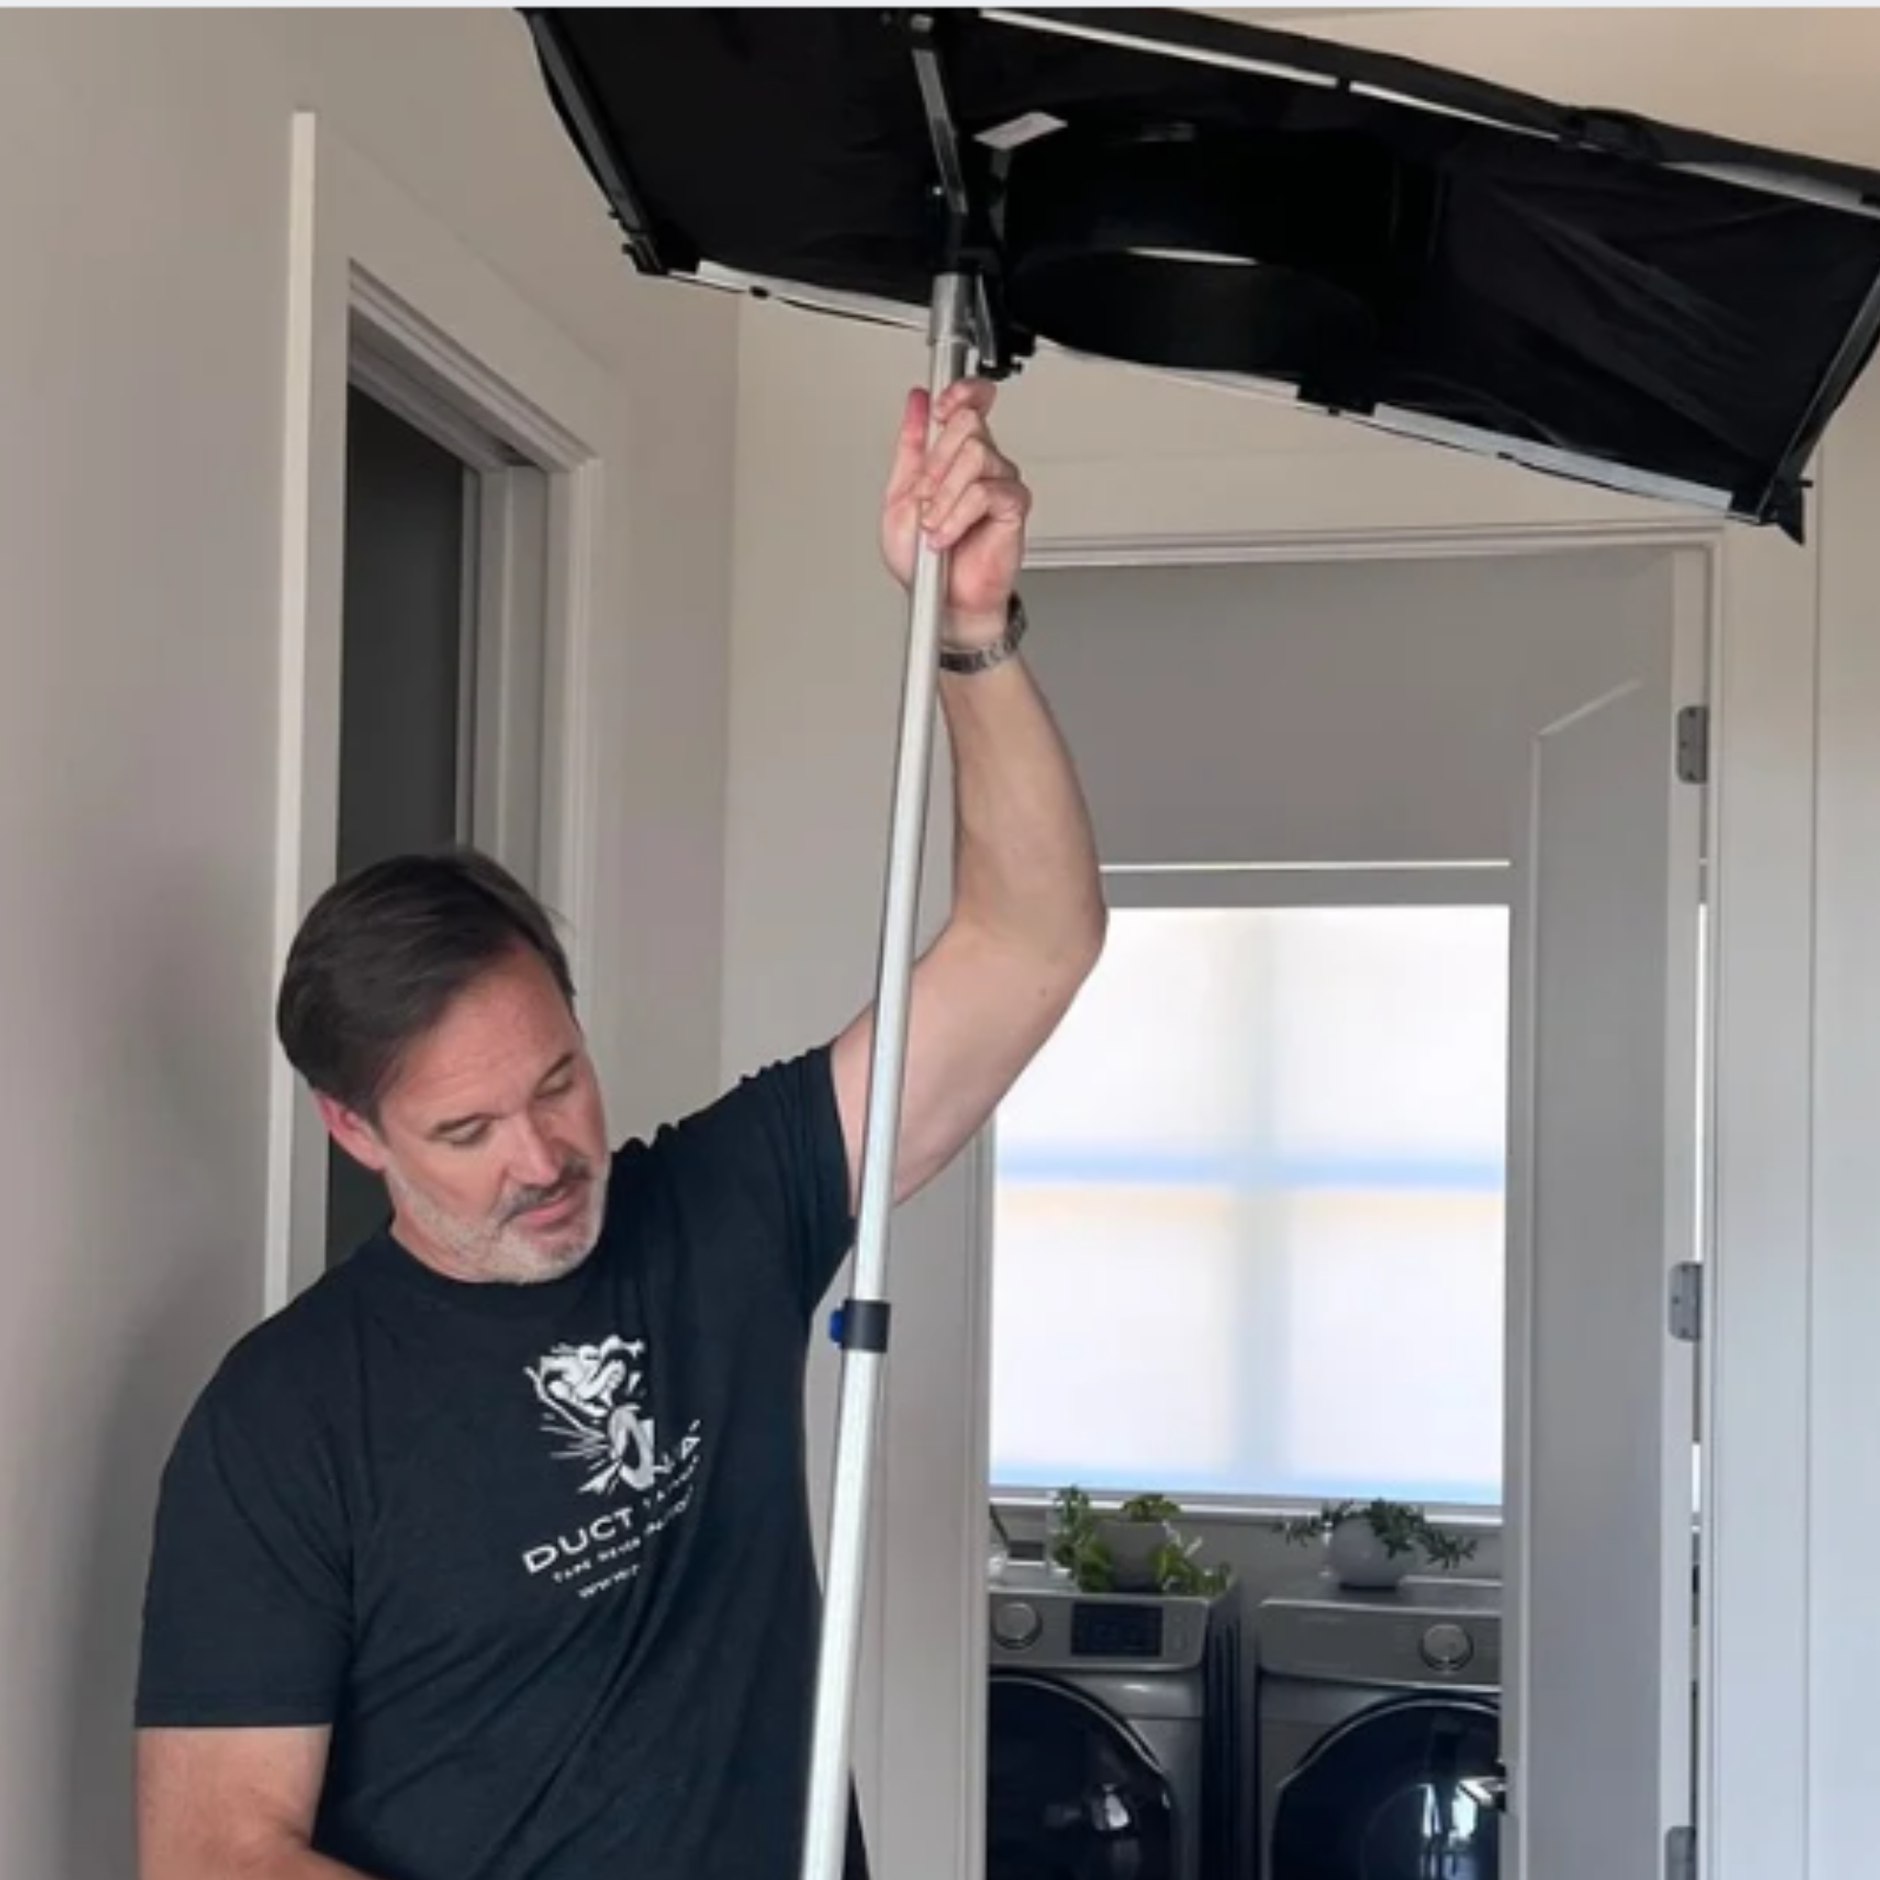
Reusable vent caps offer a fast, tidy alternative to covering supply registers with tape. They’re designed to install and remove without adhesive, helping crews avoid the repeat cycle of applying tape, peeling it off, and tossing it after each job. That can be especially useful when several crews are moving through homes or multifamily units.
- Cover each required supply register securely.
- Check that the seal sits flat and stays in place.
- Use the appropriate method for returns and other openings in the test boundary.
- Don’t assume a damper or closed grille is a substitute for sealing.
Returns can take extra time, especially when they’re large or hard to reach. Vent Cap Systems’ reusable vent seals and Duct Ninja return grille seal are designed to make register sealing simpler. Choose seals that fit the openings you encounter, and verify each one is secure before moving on.
4. Set up the Duct Blaster and DG-1000
Connect the Duct Blaster to the duct system using the configuration required for your test. The fan’s connection point and orientation depend on whether you’re pressurizing or depressurizing the system.
For a common total leakage pressurization test with a Minneapolis Duct Blaster and DG-1000:
- Connect the fan to the duct system as directed in the equipment manual.
- Connect the pressure tubing between the duct system and the gauge’s pressure input as shown in the current guide.
- Connect the fan pressure tubing to the appropriate gauge channel.
- Select the correct fan model and mode on the DG-1000.
- Install the flow ring that suits the expected airflow, then confirm the gauge configuration matches the ring actually installed.

A DG-1000 manometer setup is only as reliable as its configuration. A mismatch between the installed flow ring and the selected gauge setting can undermine the flow reading, even if everything else looks right. If you change rings, turn the fan off first and update the gauge to match.
5. Run the test: pressurized or depressurized?
For many standard total-leakage procedures, the duct system is tested at a specified pressure, often 25 Pa, depending on the applicable code or program. The gauge reports the airflow needed to maintain the test pressure. That airflow is typically recorded as CFM at the test pressure, such as CFM25.
Pressurized total-leakage test
With the registers sealed and the fan connected, gradually increase fan speed until the duct pressure reaches the specified target. Let the readings stabilize, then record the airflow shown by the gauge.
A DG-1000 may offer cruise control for reaching a selected pressure, depending on the setup. If you’re controlling the fan manually, adjust it steadily and watch the duct-pressure reading. Avoid treating a fluctuating reading as a final result, use the averaging options and procedure specified for your test.
Depressurized test
A total-leakage depressurization test also measures leakage from the duct system, but the Duct Blaster is configured to pull air from the sealed duct system rather than push air into it. Follow the manual carefully for fan orientation, tubing, gauge mode, and flow-ring configuration. The required target pressure and reporting method come from the applicable test protocol.
Important distinction: A duct system depressurized to a target pressure is not the same test as duct leakage to outside. Leakage-to-outside testing generally uses both a duct tester and a blower door. The blower door changes the pressure of the house, and the duct tester is adjusted to neutralize pressure between the ducts and the house. This helps measure leakage communicating with outdoors rather than total leakage to the surrounding space.
Choose the required method before you start, and don’t compare results from different test types as if they were interchangeable.
6. Record results while you’re on site
Good documentation makes results understandable after the equipment is packed away. Record the details your code, rating program, or client requires. A useful field record commonly includes:
- Address, date, tester, and test stage
- Test type: total leakage or leakage to outside
- Conditioned floor area, when required for reporting
- Test pressure and airflow reading
- Fan model and flow-ring configuration
- Gauge model, settings, and any relevant equipment identification
- Pass/fail criteria and final result
- Notes about unusual conditions, inaccessible openings, or test limitations
Where required, normalize the reading using the applicable reporting method. For example, a program may express leakage as CFM25 per 100 square feet of conditioned floor area. Confirm the exact calculation and threshold for your jurisdiction or program rather than relying on a rule of thumb.
If the gauge displays “Low” or “----,” don’t guess at a result. Those messages can indicate that the airflow reading isn’t reliable or that the test pressure is too low for a valid estimate. Check the setup, pressure, ring selection, and gauge configuration against the manual, then correct the issue and repeat the measurement if appropriate.
7. Close out the test
Before leaving:
- Stop the fan and remove temporary seals only after recording the result.
- Restore HVAC filters, controls, dampers, and other components to their required normal condition.
- Make sure all temporary covers and test materials are removed.
- Complete the required report and share any relevant observations with the client or project team.
When you’re equipping multiple crews, a consistent checklist helps everyone follow the same process. Pair dependable duct leakage test equipment with a register-sealing workflow that saves time without skipping verification. Vent Cap Systems offers Minneapolis Duct Blaster® systems, comparable Retrotec equipment, and reusable seals to help building performance professionals keep field work moving.
A little extra attention to setup goes a long way: seal completely, match the gauge to the hardware, stabilize the reading, and document what you actually tested. That’s how to turn duct testing equipment into dependable field results.